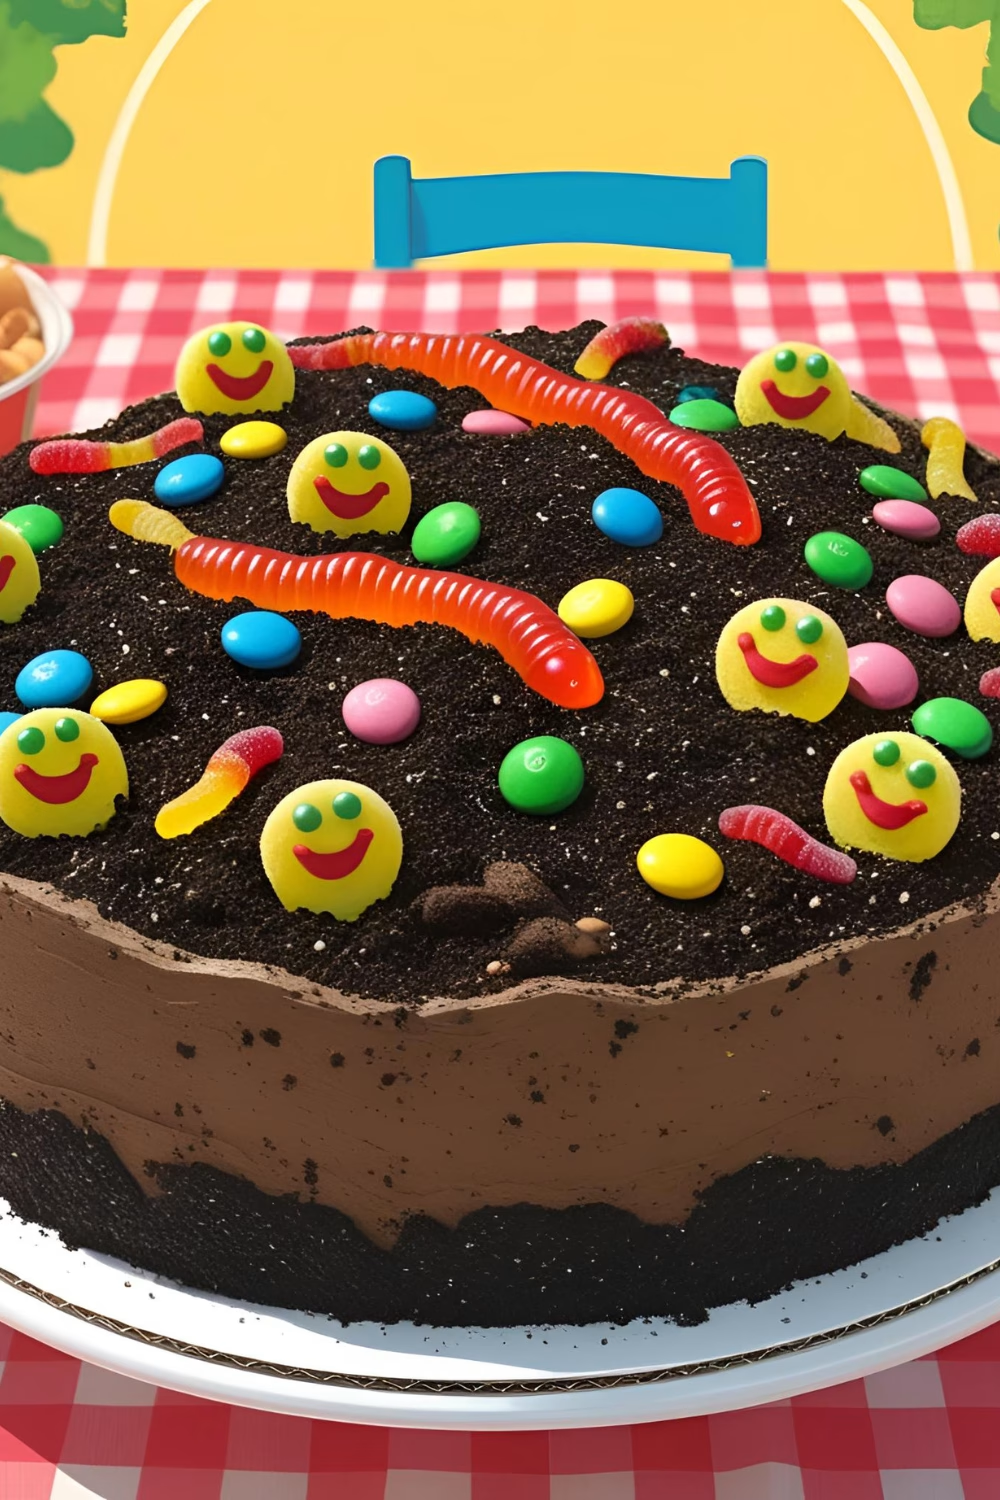
Dirt Cake is a fun, no-bake dessert that combines layers of crushed chocolate cookies, creamy pudding, and whipped topping for a deliciously rich treat. This playful dessert is perfect for parties, potlucks, and even themed events where you want to add a touch of creativity. With its crumbly topping resembling real dirt and the option to add gummy worms or other decorative elements, Dirt Cake is a hit among both kids and adults.
The first time I made Dirt Cake, I was hosting a family gathering and wanted something easy yet impressive. The reaction from everyone, especially the kids, was priceless. Since then, it has become a staple in my dessert rotation due to its simplicity and indulgent flavor.
Why You’ll Love This Dirt Cake Recipe
- No-Bake Simplicity: Perfect for when you need a hassle-free dessert without turning on the oven.
- Rich and Creamy Texture: The combination of pudding, cream cheese, and whipped topping creates a silky smooth consistency.
- Customizable Toppings: You can get creative with gummy worms, candy rocks, or even edible flowers.
- Perfect for All Occasions: Whether it’s a birthday, Halloween party, or summer cookout, Dirt Cake is always a crowd-pleaser.
- Make-Ahead Friendly: Prepare it in advance and let the flavors meld for an even better taste.
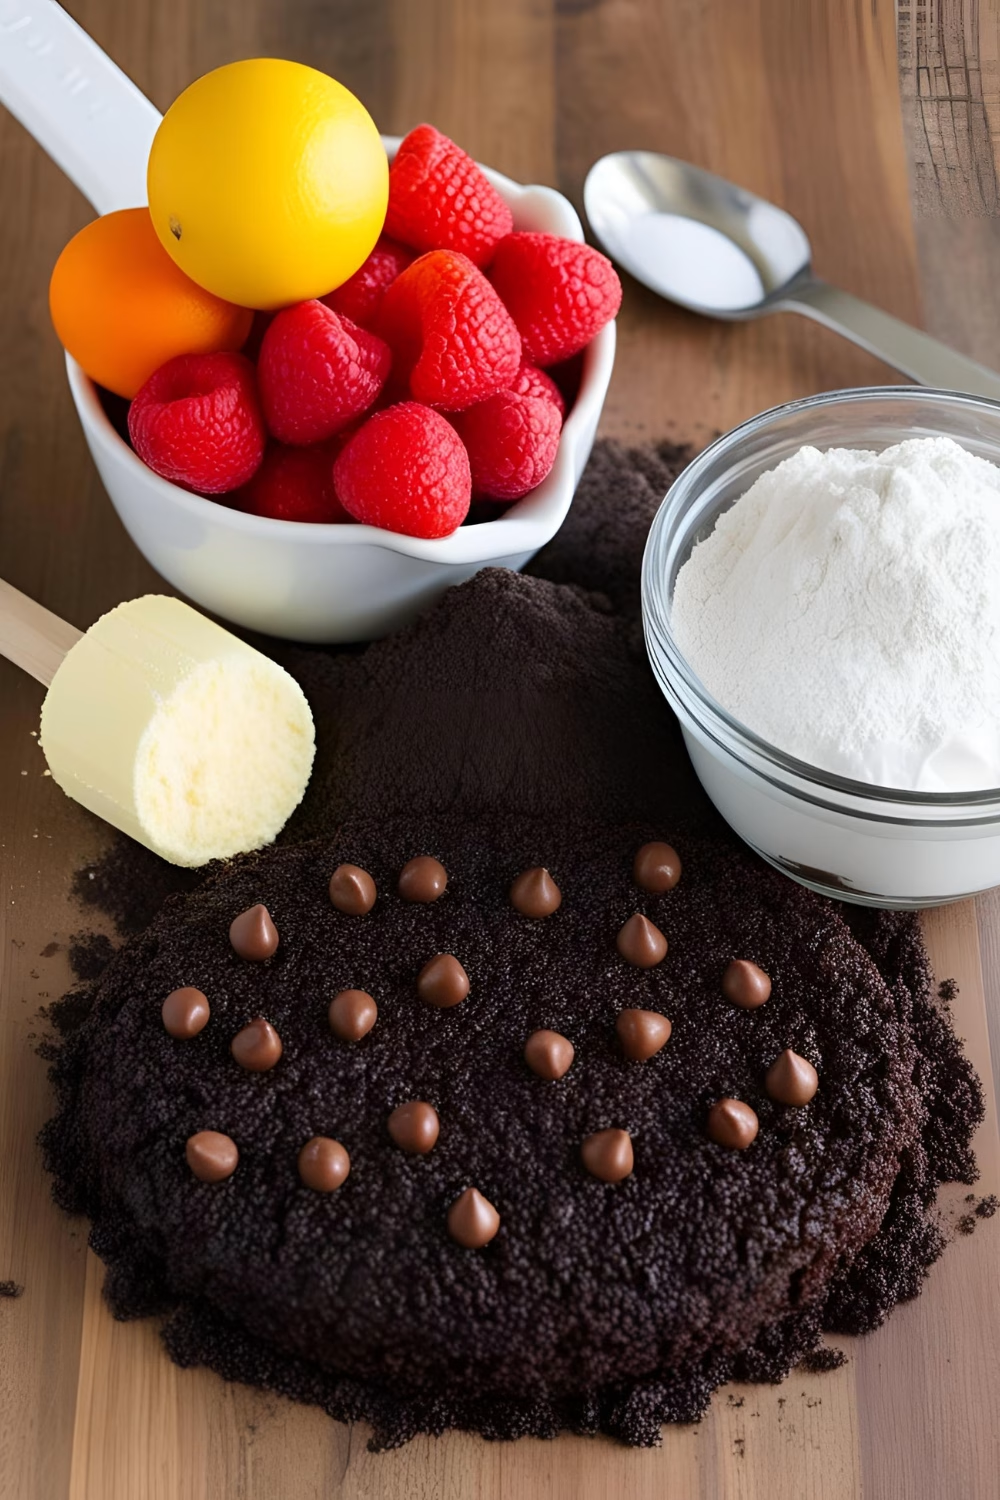
Ingredients Notes
To make this delicious Dirt Cake, you’ll need:
- Chocolate Sandwich Cookies: The base of the “dirt” layer, crushed finely for a realistic soil effect.
- Cream Cheese: Softened to blend smoothly with the pudding.
- Powdered Sugar: Adds just the right amount of sweetness.
- Vanilla Pudding Mix: Instant pudding works best to create a thick and creamy consistency.
- Milk: Helps dissolve the pudding mix for a rich filling.
- Whipped Topping: Provides lightness and stability to the creamy layers.
- Butter: Adds richness to the cream cheese mixture.
- Gummy Worms (Optional): A fun addition that enhances the playful theme.
How To Make This Dirt Cake
Dirt Cake is a no-bake dessert that’s easy to assemble and always a crowd-pleaser. With layers of creamy pudding mixture and crushed chocolate cookies, it looks like real dirt, making it a fun and delicious treat for all ages. Follow this step-by-step guide to make the perfect Dirt Cake!
- Step 1: Crush the Cookies
The “dirt” in Dirt Cake comes from crushed chocolate sandwich cookies. Here’s how to prepare them: Place the cookies in a food processor and pulse until they resemble fine crumbs. If you don’t have a food processor, place the cookies in a sealed zip-top bag and crush them with a rolling pin. Set aside about ½ cup of cookie crumbs for garnishing the top later. - Step 2: Prepare the Cream Cheese Mixture
For the creamy pudding layer, you’ll first need to prepare the cream cheese base: In a large mixing bowl, beat the softened cream cheese and butter together with an electric mixer until smooth and fluffy. Add the powdered sugar and mix until fully combined. Set this mixture aside while you prepare the pudding. - Step 3: Make the Pudding
To create the silky pudding layer:In another large mixing bowl, whisk together the instant vanilla pudding mix, cold milk, and vanilla extract. Whisk for 2-3 minutes until it thickens slightly. Gently fold in the whipped topping using a spatula until fully combined. Gradually add the cream cheese mixture into the pudding mixture, folding gently until smooth and well blended. - Step 4: Assemble the Layers
Now it’s time to assemble your Dirt Cake! You can use a trifle dish, 9×13-inch pan, or even small cups for individual servings. Start with a layer of crushed cookies at the bottom of your serving dish. Add a layer of the creamy pudding mixture, spreading it evenly over the cookie crumbs. Repeat the layers until all the ingredients are used, finishing with a layer of crushed cookies on top to resemble “dirt.” - Step 5: Decorate and Chill
To make your Dirt Cake extra fun:Press gummy worms into the top layer to create a “garden” or “muddy” effect. For a creative touch, you can also use edible flowers, candy rocks, or chocolate shavings. Cover the dish with plastic wrap and refrigerate for at least 2 hours, or overnight for the best flavor and texture. - Step 6: Serve and Enjoy!
Once chilled, scoop into bowls and serve. Dirt Cake is best enjoyed cold and fresh. Whether you’re making it for a party, holiday, or just a fun treat, this creamy, chocolatey dessert is sure to be a hit!
Storage Options
Dirt Cake is a delightful no-bake dessert, but proper storage ensures it maintains its creamy texture and rich flavors for as long as possible. Here’s a guide to keeping your Dirt Cake fresh and delicious:
Short-Term Storage (Up to 3 Days)
If you plan to serve the Dirt Cake within a few days, keeping it fresh is simple:
- Refrigerate in an Airtight Container: The best way to store Dirt Cake is by covering the dish tightly with plastic wrap or transferring leftovers to an airtight container. This helps prevent the pudding layer from absorbing unwanted fridge odors and keeps the cookie crumbs from becoming too soggy.
- Keep It Chilled: Since Dirt Cake contains dairy ingredients like cream cheese, milk, and whipped topping, it must be stored in the refrigerator at all times when not being served. Keeping it at a cold temperature maintains its creamy consistency and prevents spoilage.
- Avoid Excess Moisture: Condensation can form on the lid or plastic wrap, making the top layer of cookie crumbs soggy. To prevent this, place a sheet of paper towel over the cake before sealing it with plastic wrap. The towel will absorb excess moisture without affecting the flavor.
Freezing for Long-Term Storage (Up to 1 Month)
If you want to prepare Dirt Cake ahead of time or save leftovers for a later treat, freezing is a great option:
- Use a Freezer-Safe Container: Transfer the Dirt Cake to an airtight, freezer-safe container or cover it securely with two layers of plastic wrap followed by aluminum foil. Proper sealing helps prevent freezer burn.
- Freeze Without Decorations: If you’ve added gummy worms or other decorative toppings, remove them before freezing. Candies can become hard and unpleasant when frozen, and decorations may bleed color into the cake when thawed. Instead, add toppings fresh before serving.
- Thaw Properly: When ready to enjoy, move the frozen Dirt Cake to the refrigerator and let it thaw slowly for 6–8 hours or overnight. Avoid thawing at room temperature, as this can cause the pudding layer to separate or become runny.
Tips for Best Quality Storage
- Avoid Overmixing Before Serving: After refrigeration or freezing, the pudding and cookie layers might slightly separate. Before serving, gently mix or smooth the top with a spatula to refresh the texture.
- Use Fresh Ingredients: The quality of the ingredients impacts how well the Dirt Cake stores. Using fresh dairy products ensures a longer shelf life.
- Keep It Covered: If storing in the fridge for multiple days, check for any dryness on the surface and keep it tightly covered to maintain moisture and freshness.
Variations and Substitutions
- Oreo Alternative: Use chocolate graham crackers or any other chocolate cookies for a slightly different texture and taste.
- Different Pudding Flavors: While vanilla is classic, try chocolate or cookies and cream pudding for a richer variation.
- Dairy-Free Version: Substitute dairy-free cream cheese, milk, and whipped topping to accommodate dietary preferences.
- Healthier Version: Use reduced-fat cream cheese, sugar-free pudding mix, and a lighter whipped topping for a lower-calorie treat.
- Nutty Addition: Mix in chopped nuts for added crunch and flavor.
Conclusion
Dirt Cake is a timeless, fun dessert that never fails to impress. Its no-bake convenience, customizable nature, and delicious taste make it a go-to choice for gatherings of all kinds. Whether you’re making it for a kid’s party, a holiday event, or just because you love chocolatey goodness, this easy dessert is bound to be a favorite.